


Before-and-after outcome panels
Five paired before and after panels joined by arrows, each labelled by the dimension that changed, selling outcomes rather than deliverables.
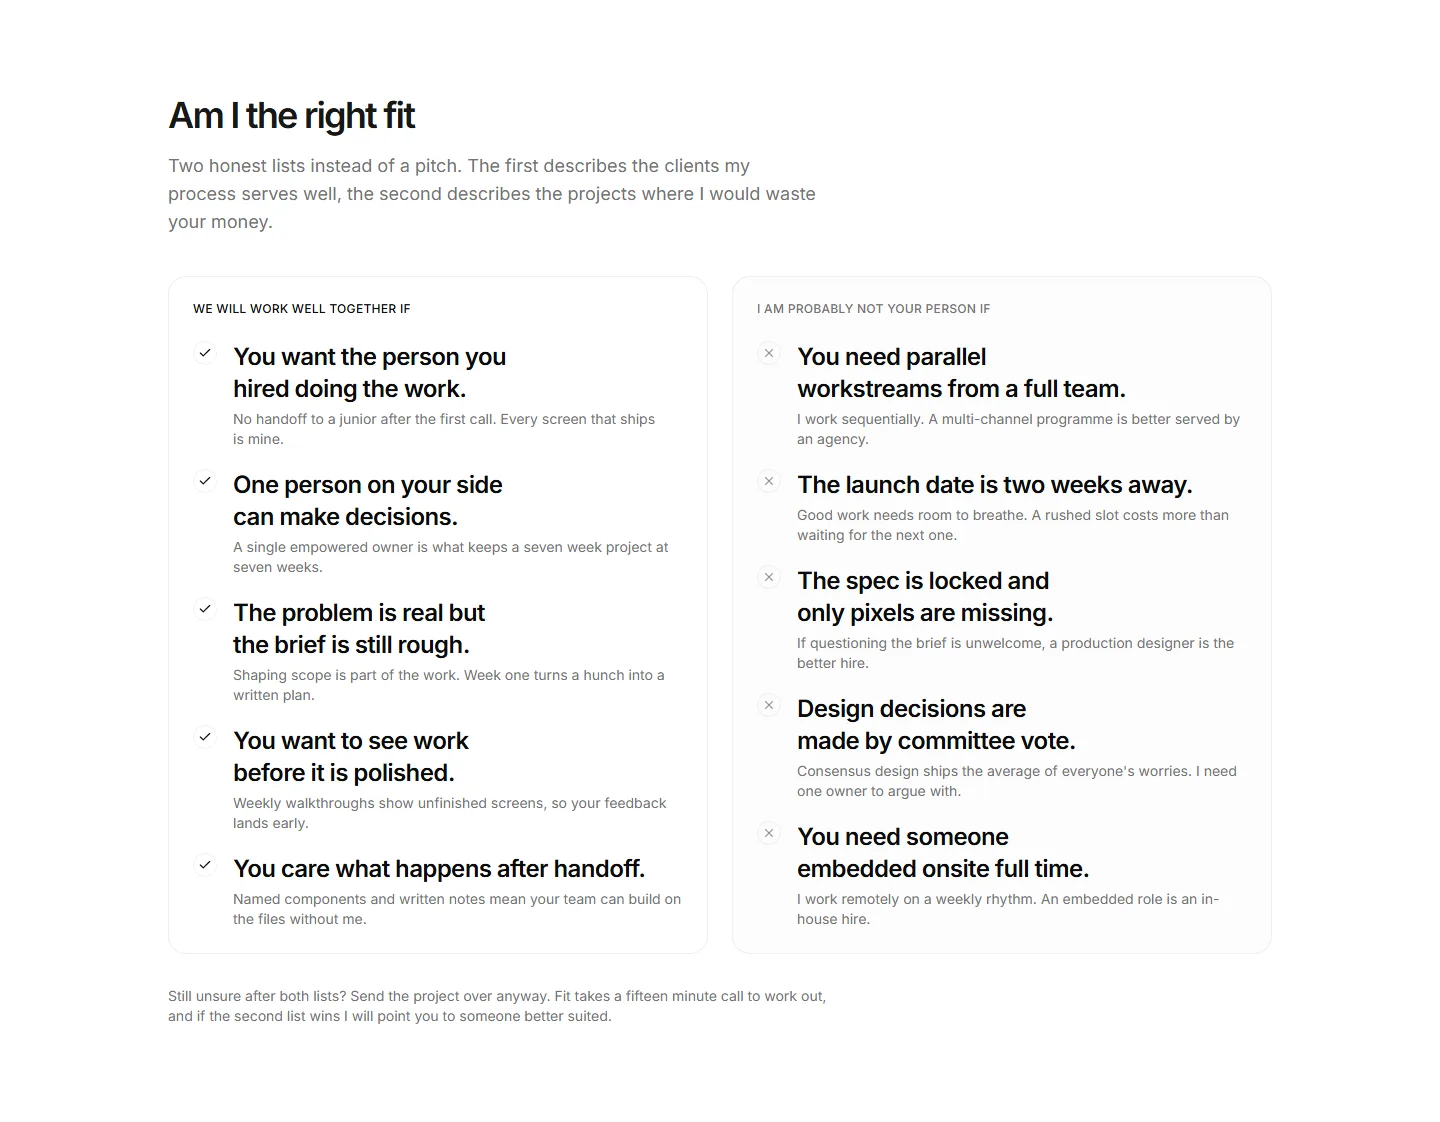
Two honest panels of fit signals, a good fit checklist beside reasons to look elsewhere, each item backed by a one line detail.
Five paired before and after panels joined by arrows, each labelled by the dimension that changed, selling outcomes rather than deliverables.
Five project metrics as paired horizontal bars comparing a typical engagement with mine, each metric captioned and labelled with plain values.
Nine criteria rows comparing this person against a typical alternative using check and minus icons, with honest gaps on both sides.
Five assumptions about hiring a solo designer paired row by row with what actually happens, including one the block admits is true.
A three-column table comparing freelance and agency across seven criteria including cost, speed to start, and institutional knowledge.
A three-column table of five signals arguing honestly for hiring a freelancer or building in-house across project length, budget, and team structure.
Two engagement timelines side by side, a typical studio process against mine, with five numbered steps, timing labels, and an honest closing note.
Two engagement models compared down a central spine of six criteria, closed by paired pick this when lists so a prospect can self select.
Four questions to ask every designer you are comparing, each card pairing the question and why it matters with my answer below a divider.
A four step decision path where each numbered question branches into yes and no outcomes, ending in a short verdict panel.
A roster of four priced specialists beside my single generalist panel, where a three dot coverage meter rates my depth per discipline.
Two decision panels weighing a bought template against custom work, each with cost and timeline facts plus the signs it is the right call.


